Create and manage Projects in PhariaStudio
PhariaStudio now supports organizing AI initiatives into distinct projects. Each project operates as an independent container for datasets and evaluation. This structure allows teams to:
- Assign members to specific projects.
- Define roles (e.g., Project Owner, Member) to control access.
- Ensure there is no data leaking between projects.
Create a project
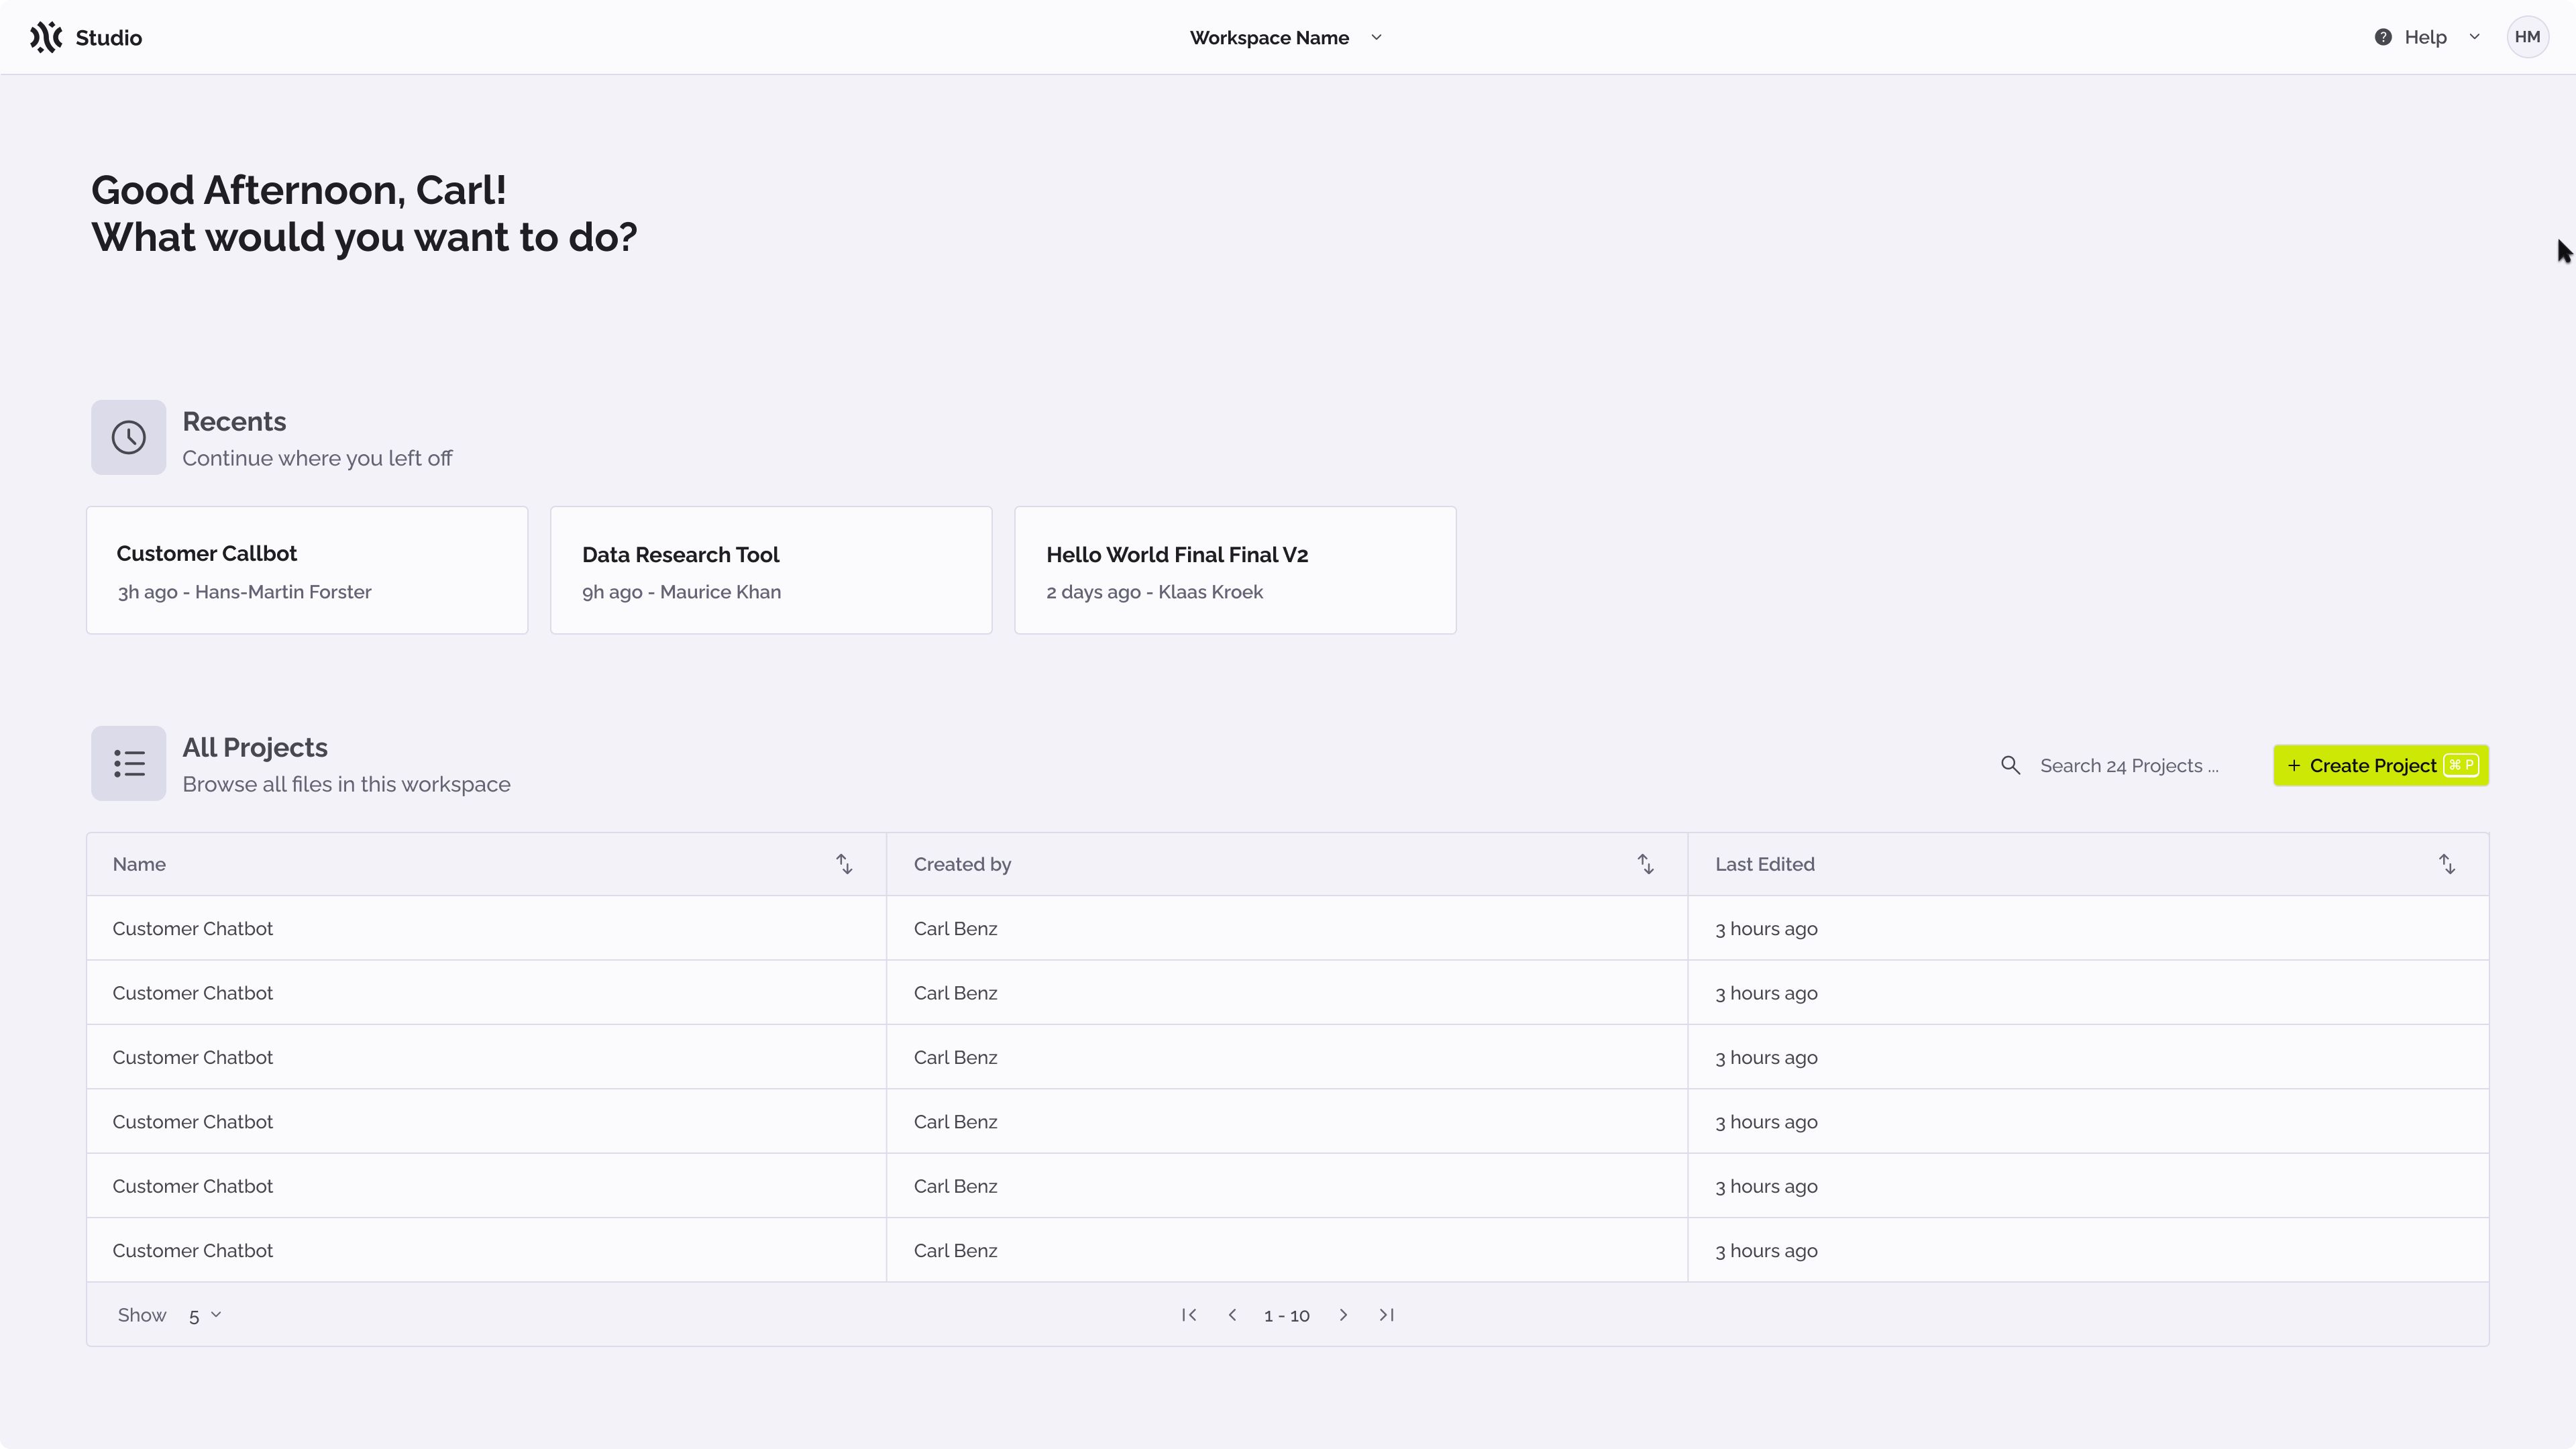
It is possible to create a project from the landing page of PhariaStudio UI.
- Open PhariaStudio at https://pharia-studio.{ingressDomain}
- Click on Create Project
- Provide a name and a description in the modal
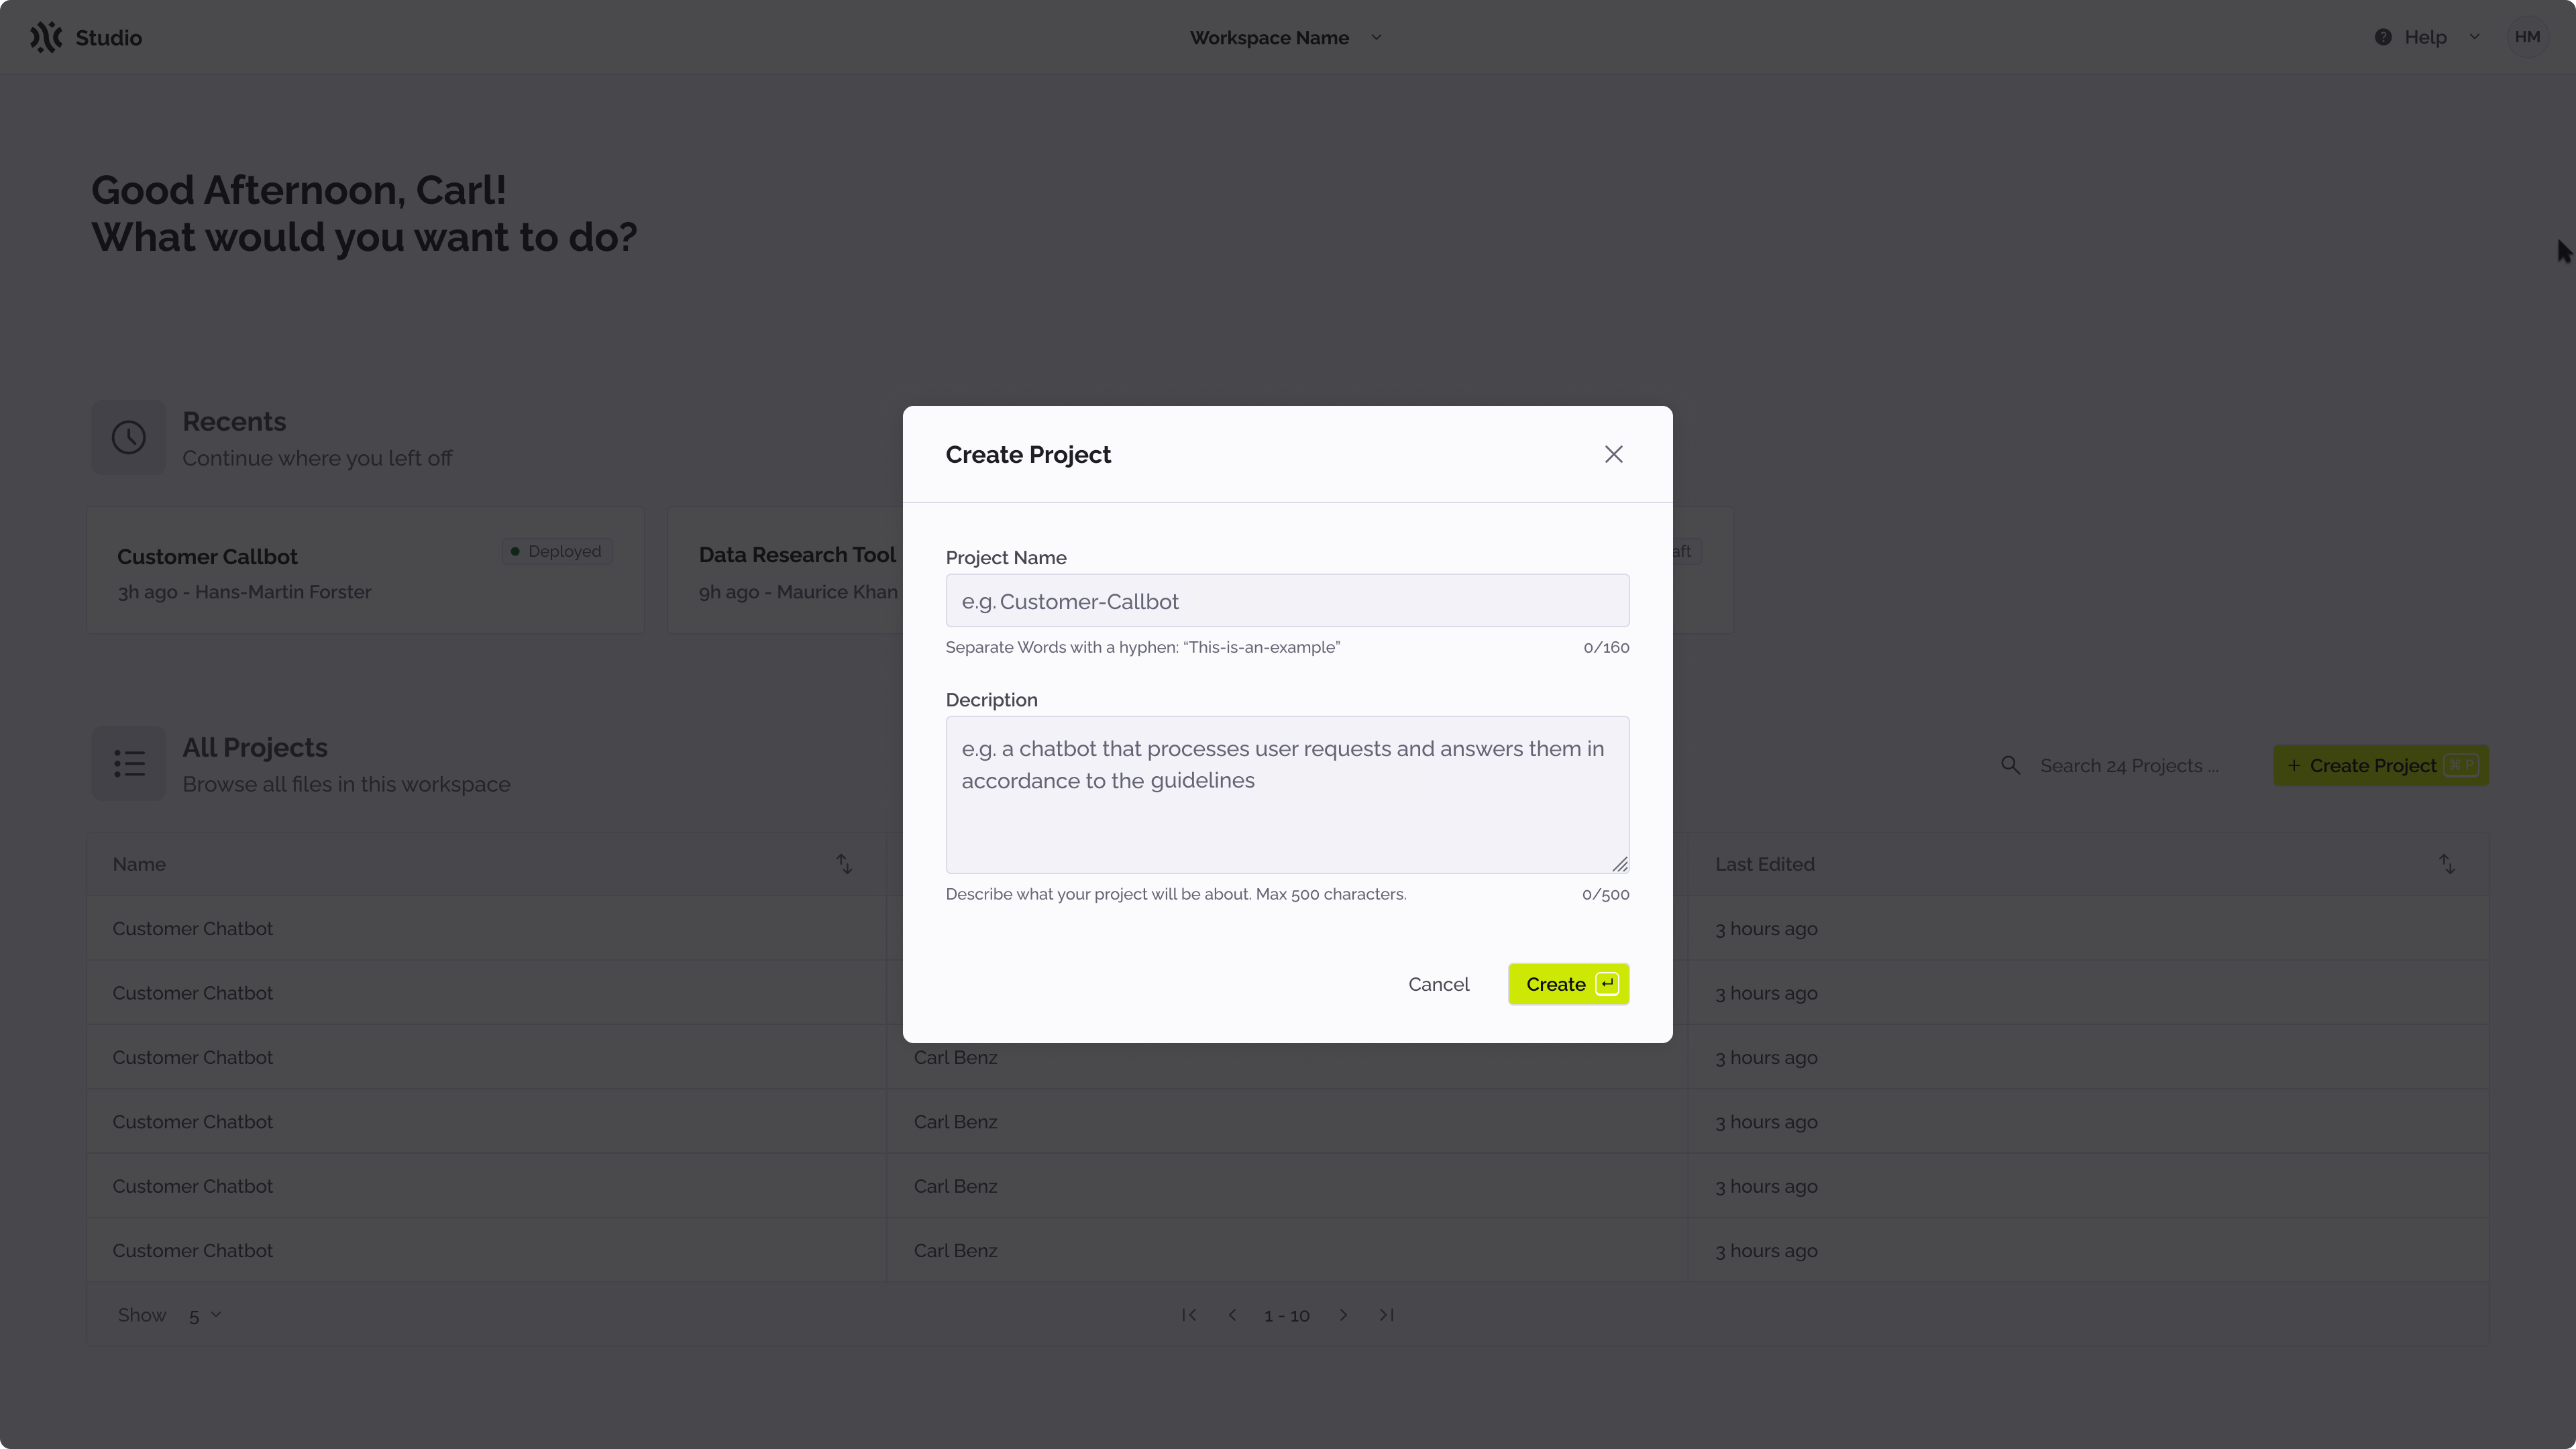
- Click on create to complete the process.
You are now the owner of the project and you will then be redirected to the playground page of the project. As an owner, it is possible to manage who has access to the project.
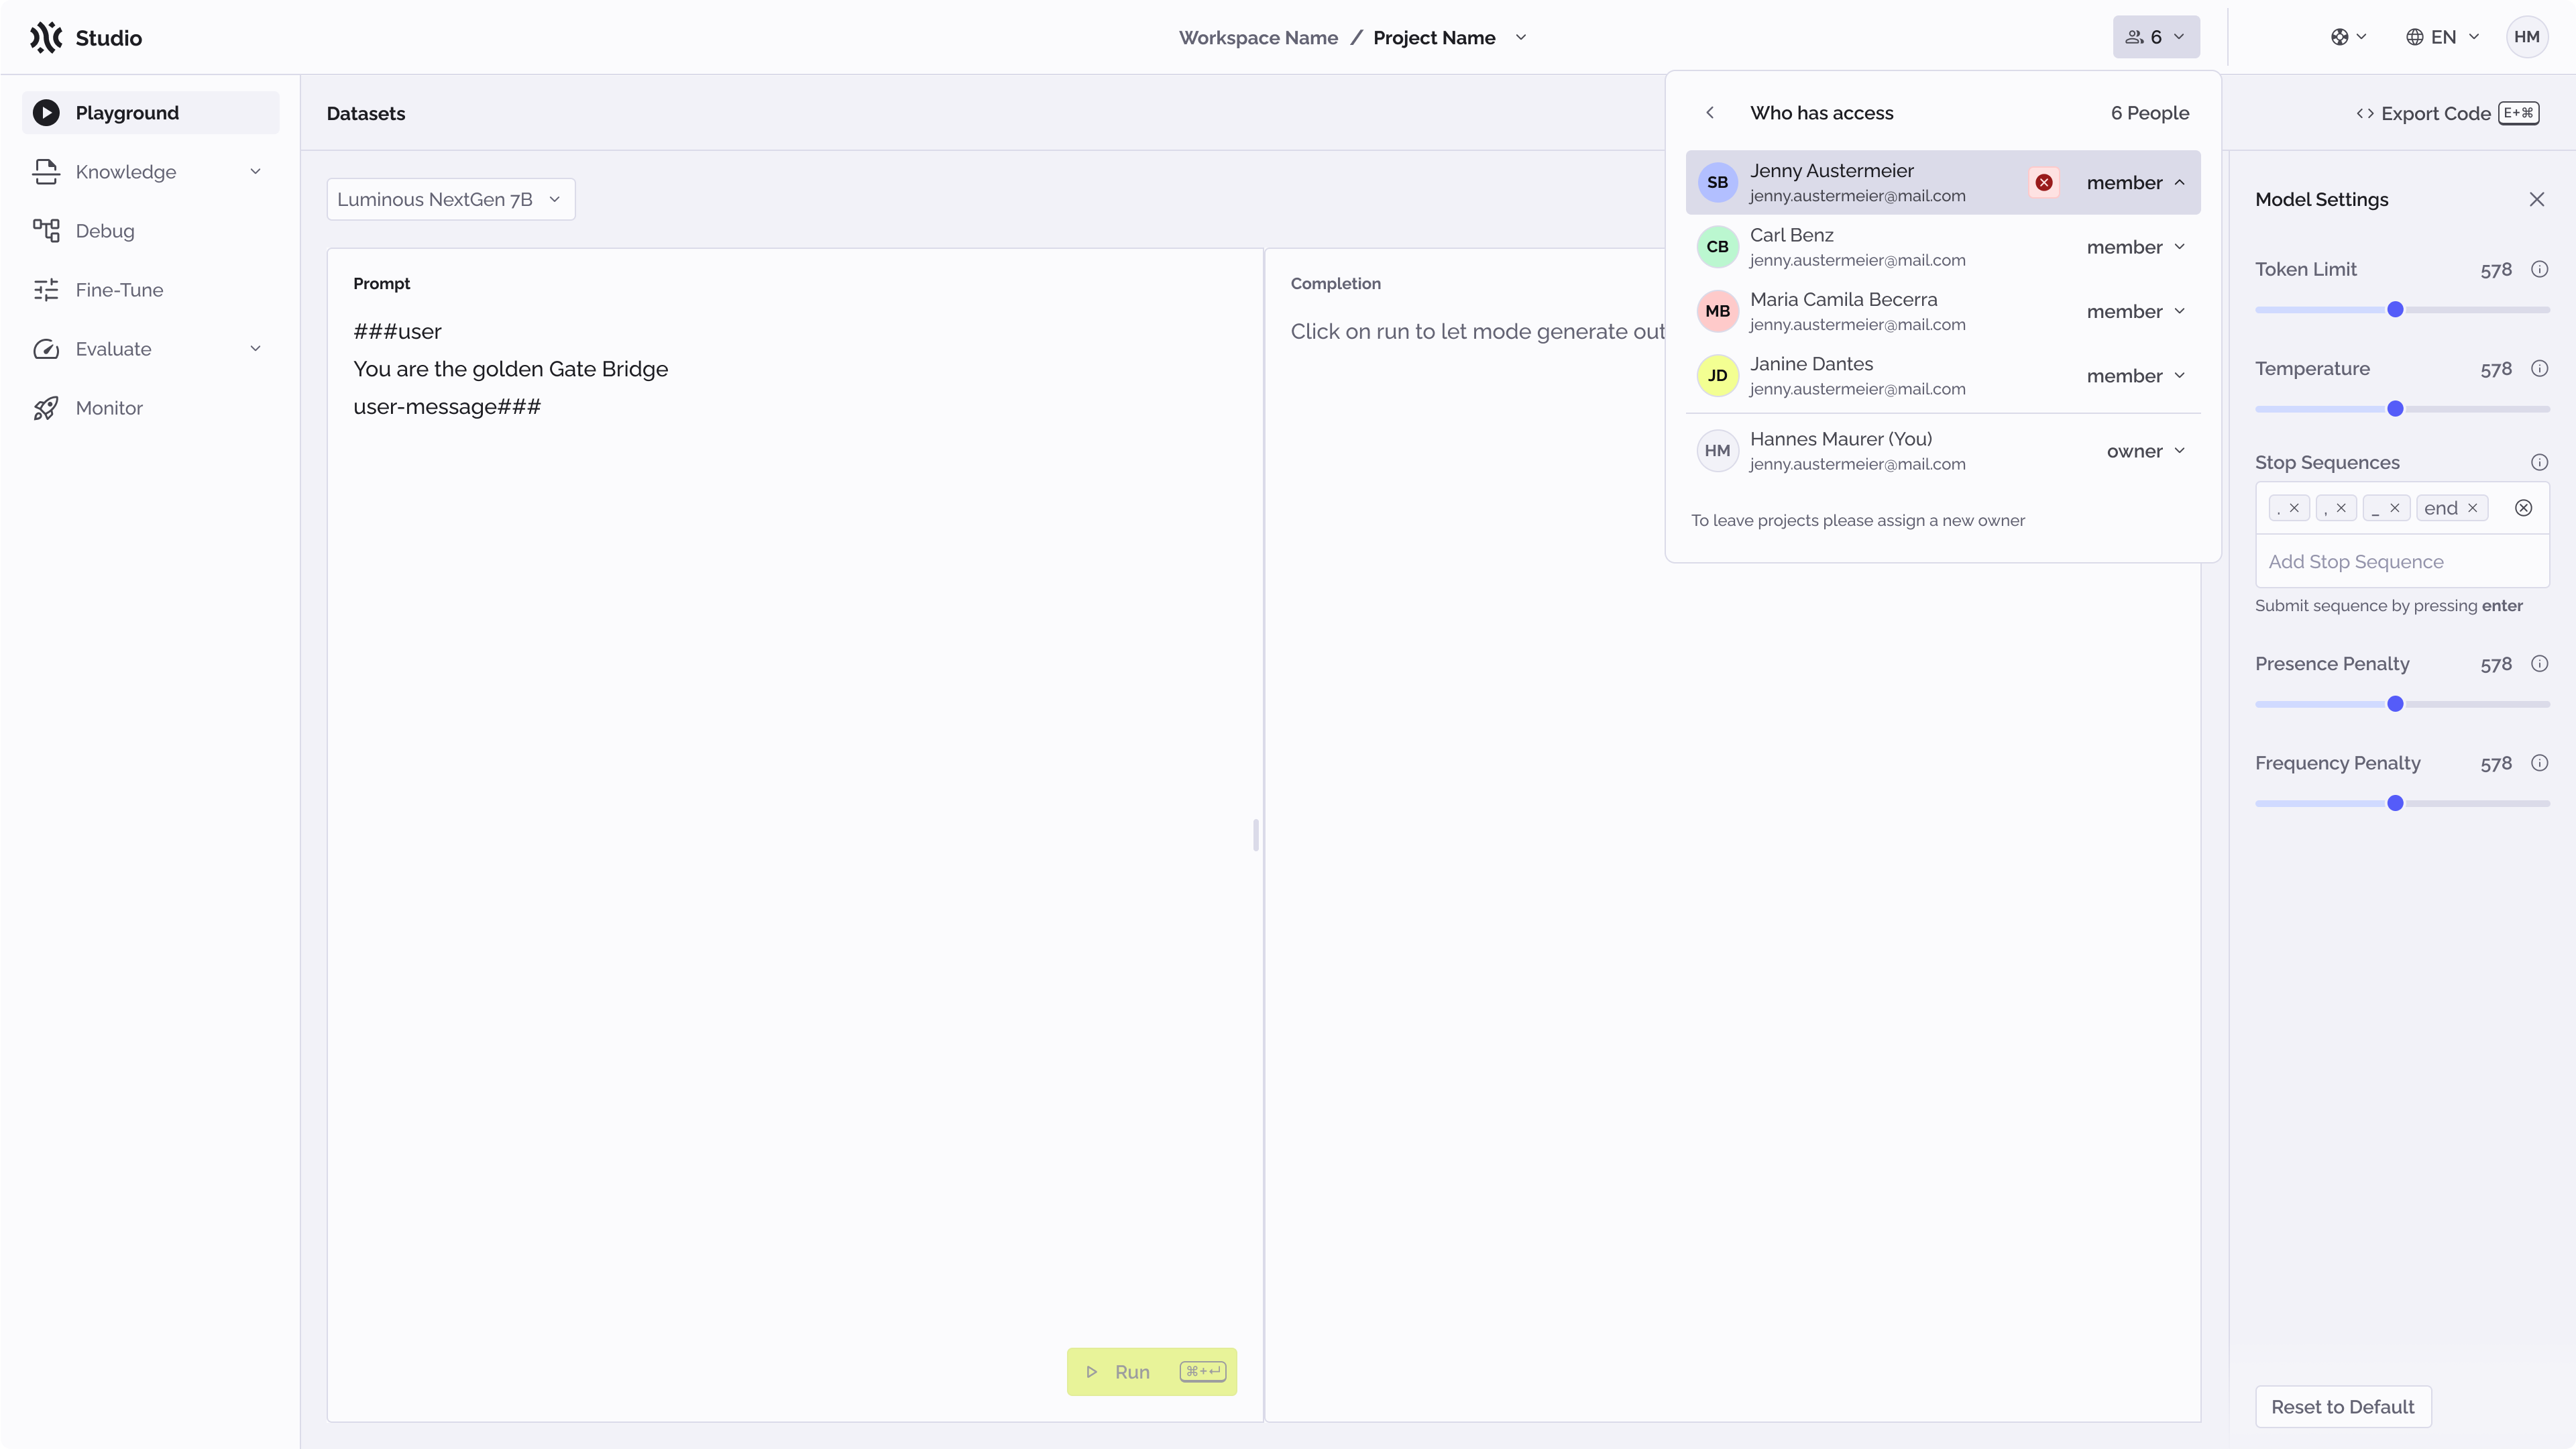
Manage access to the project
PhariaStudio blocks access to all users that are not assigned to a project to avoid data leaks. To check who has access to a project, access the project and click on the collaboration icon on the top right of the header bar.
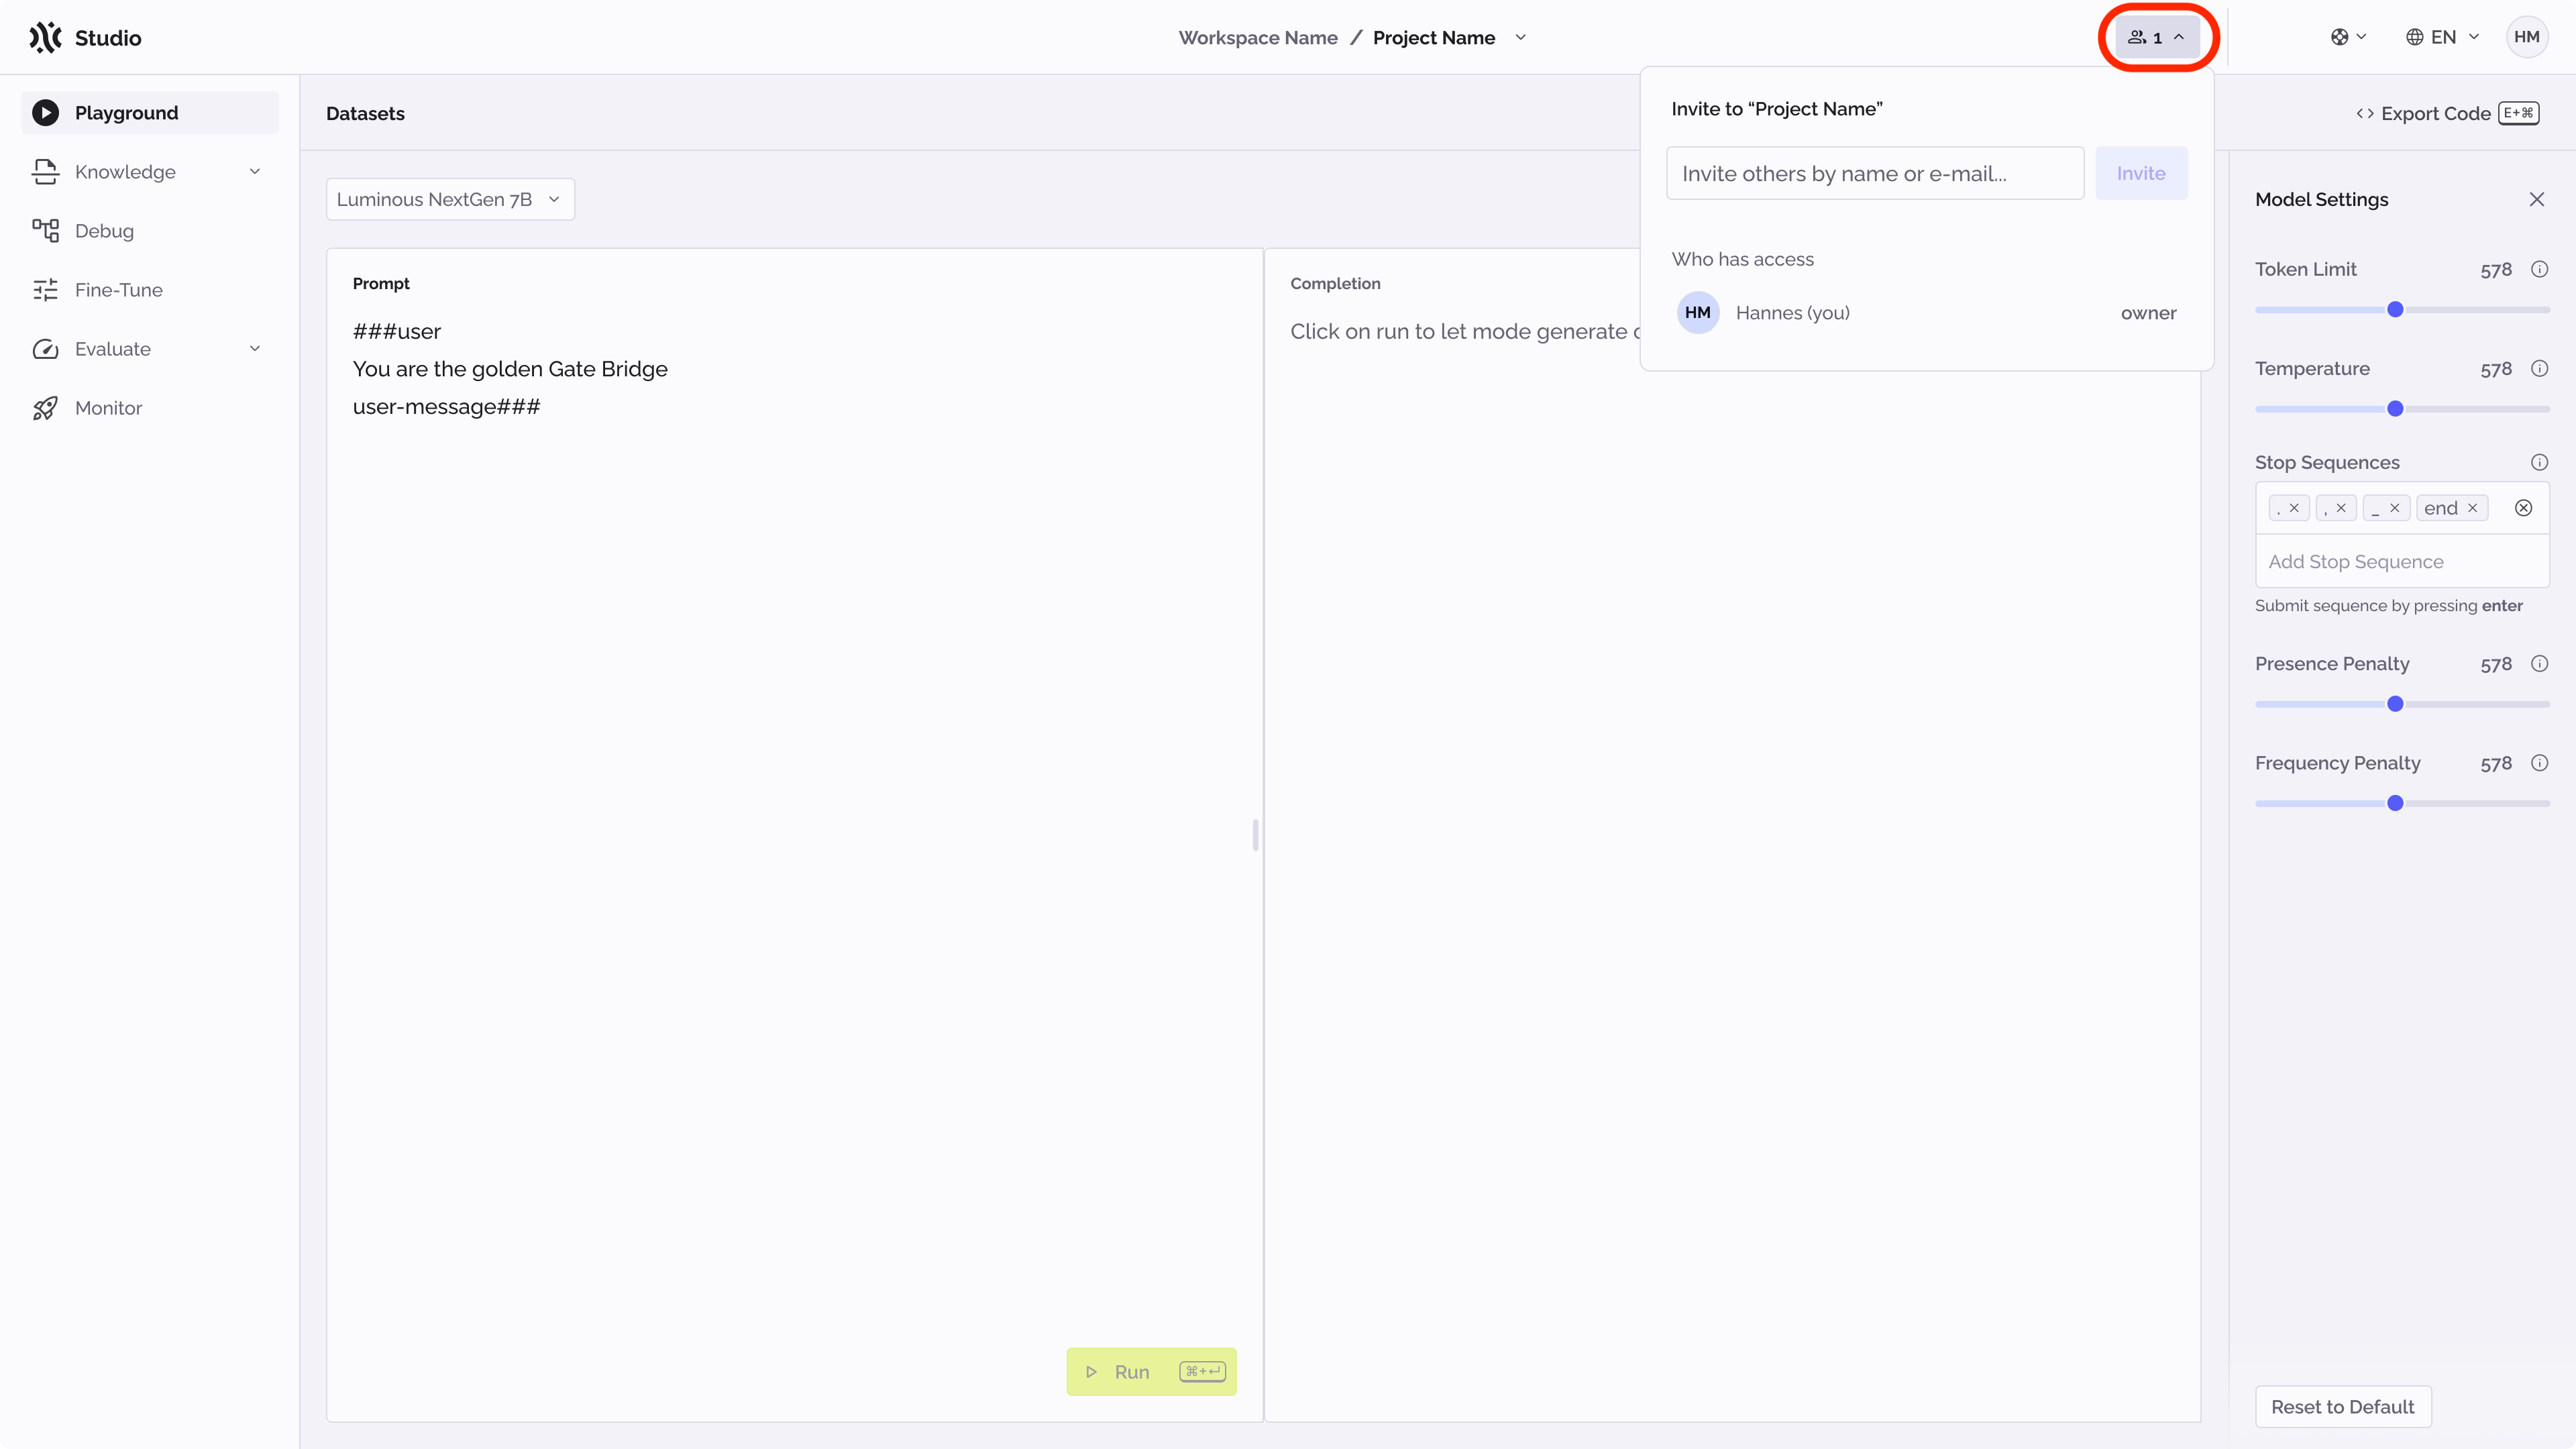
As soon as the project is created, it is accessible only to the owner. To add more users, it is possible to invite them by typing their email addresses into the text input.
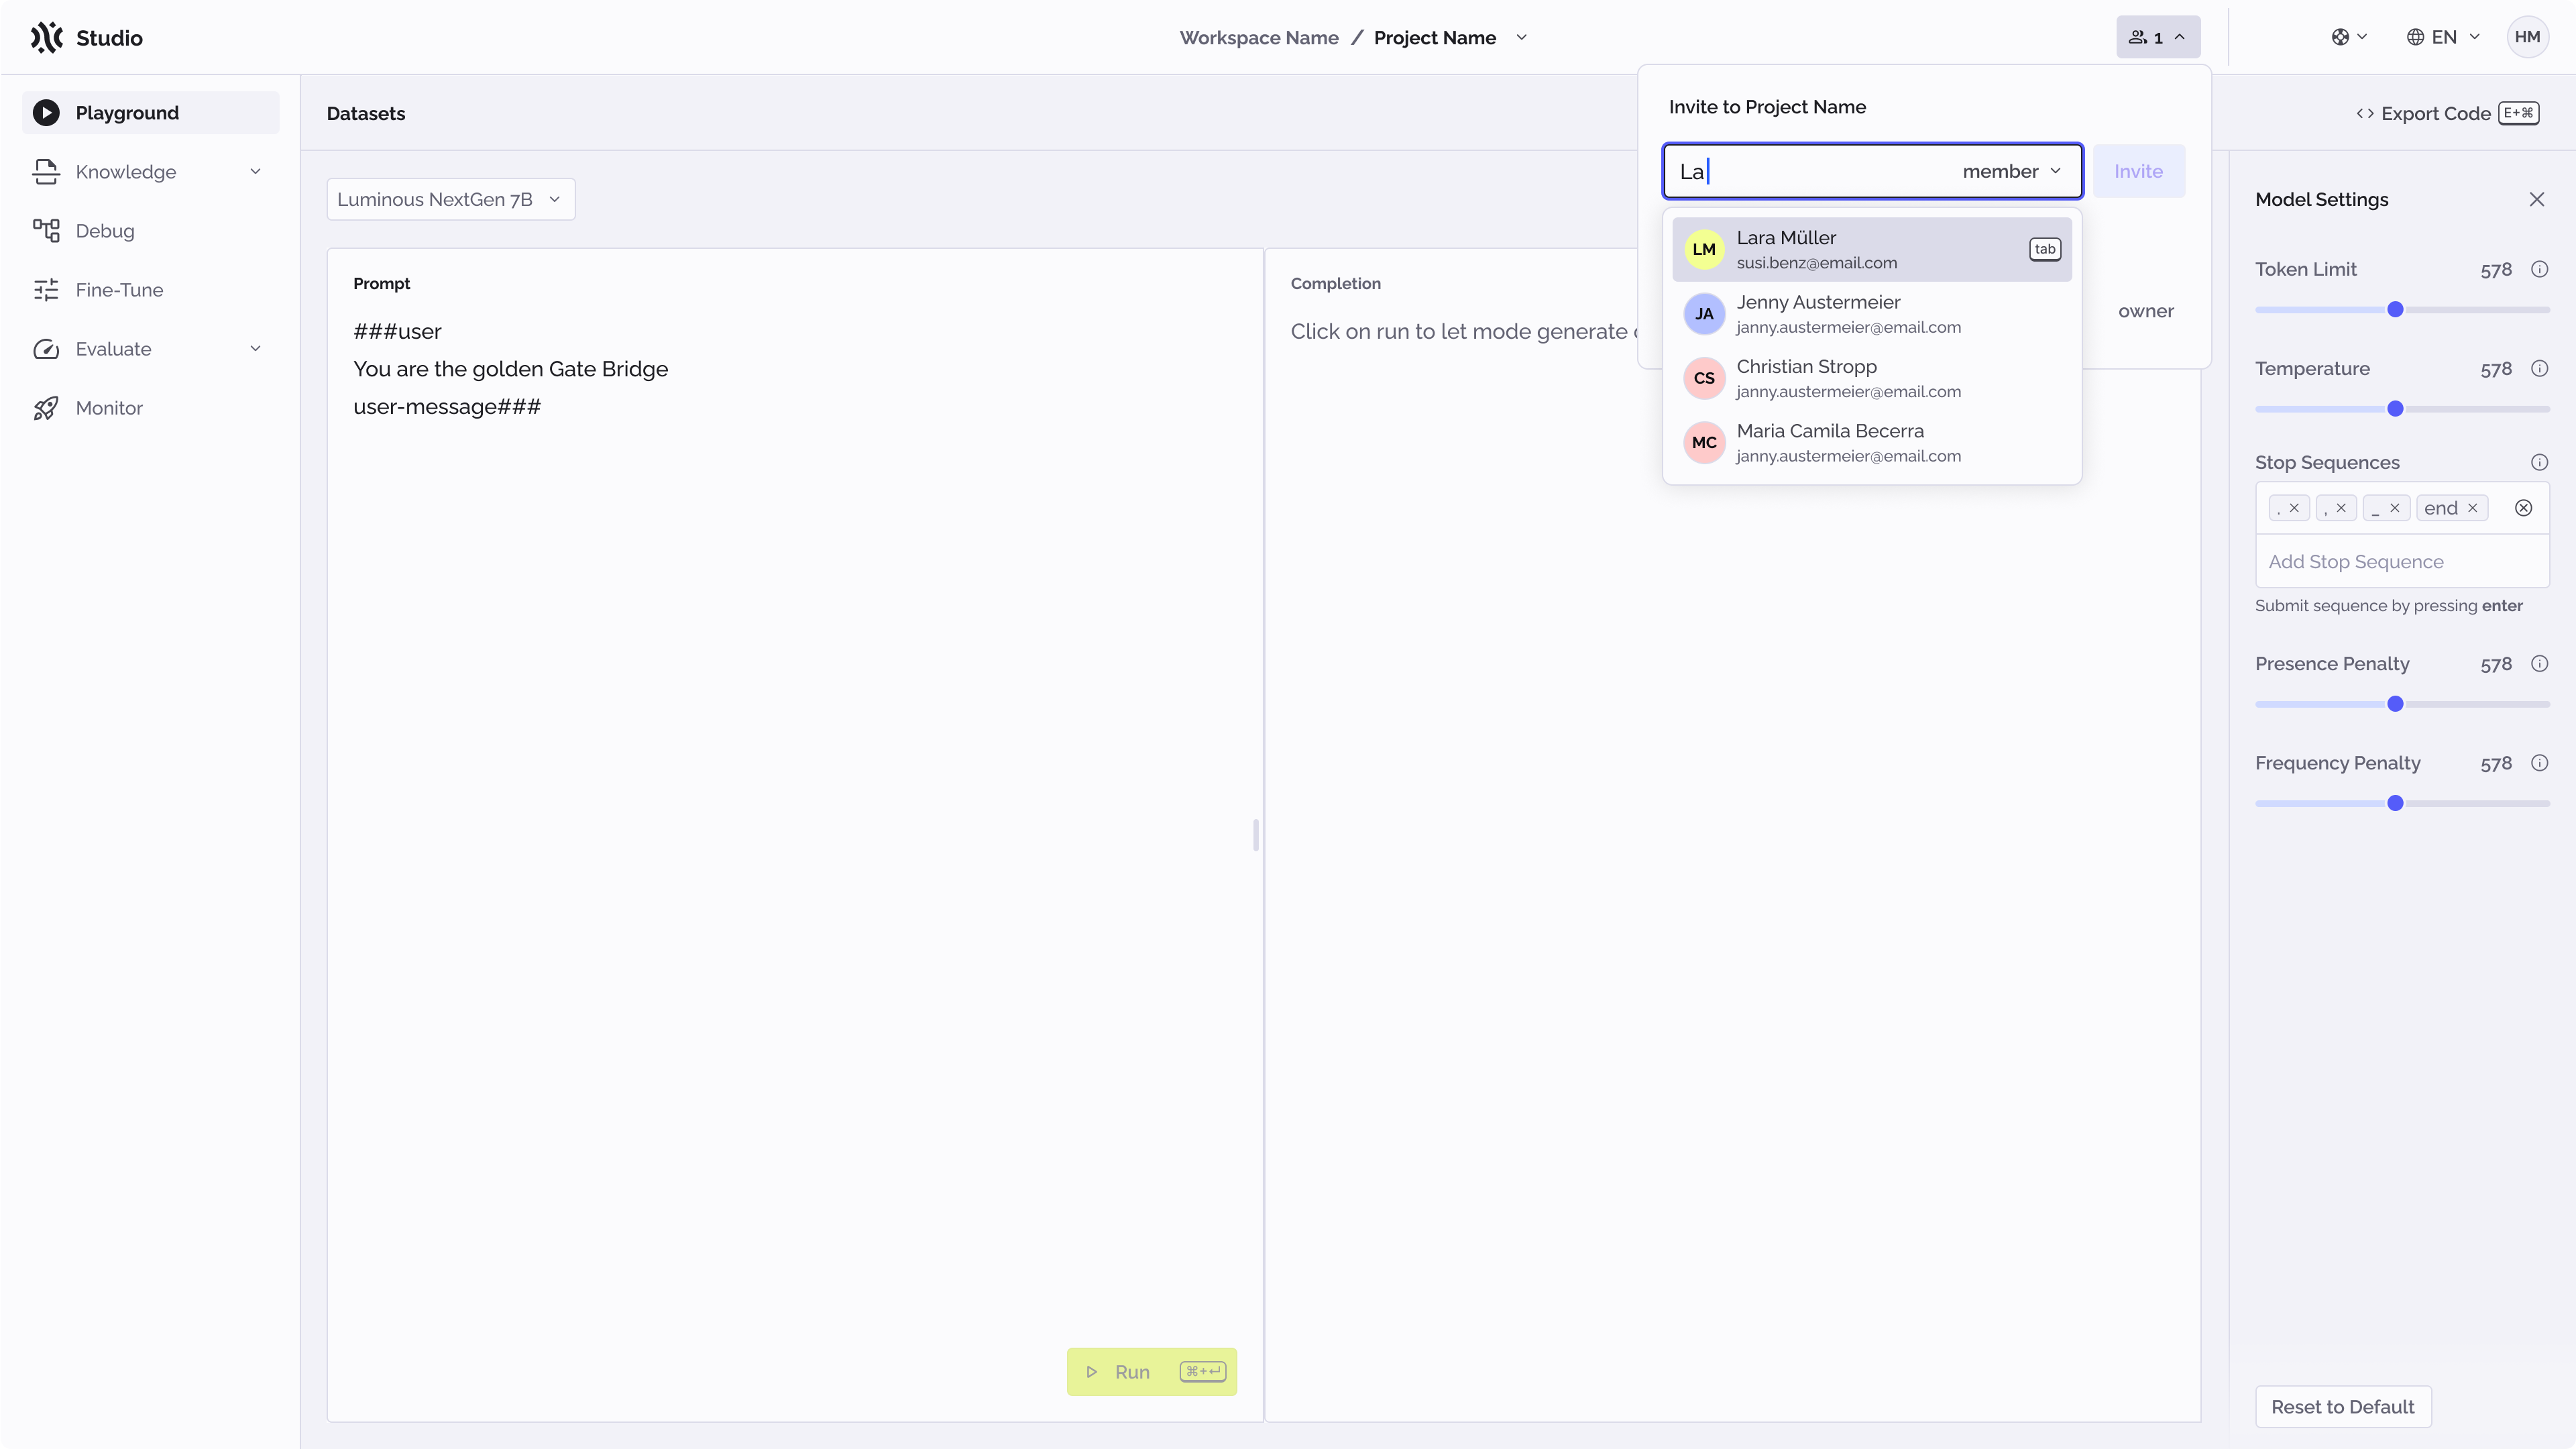
Users can be added either as members or owners. As a member, a user can only work with the content of the projects while, as an owner, a user can also manage access to the project.
Once users are added, it is possible to manage them by clicking on the user icon and then on manage.
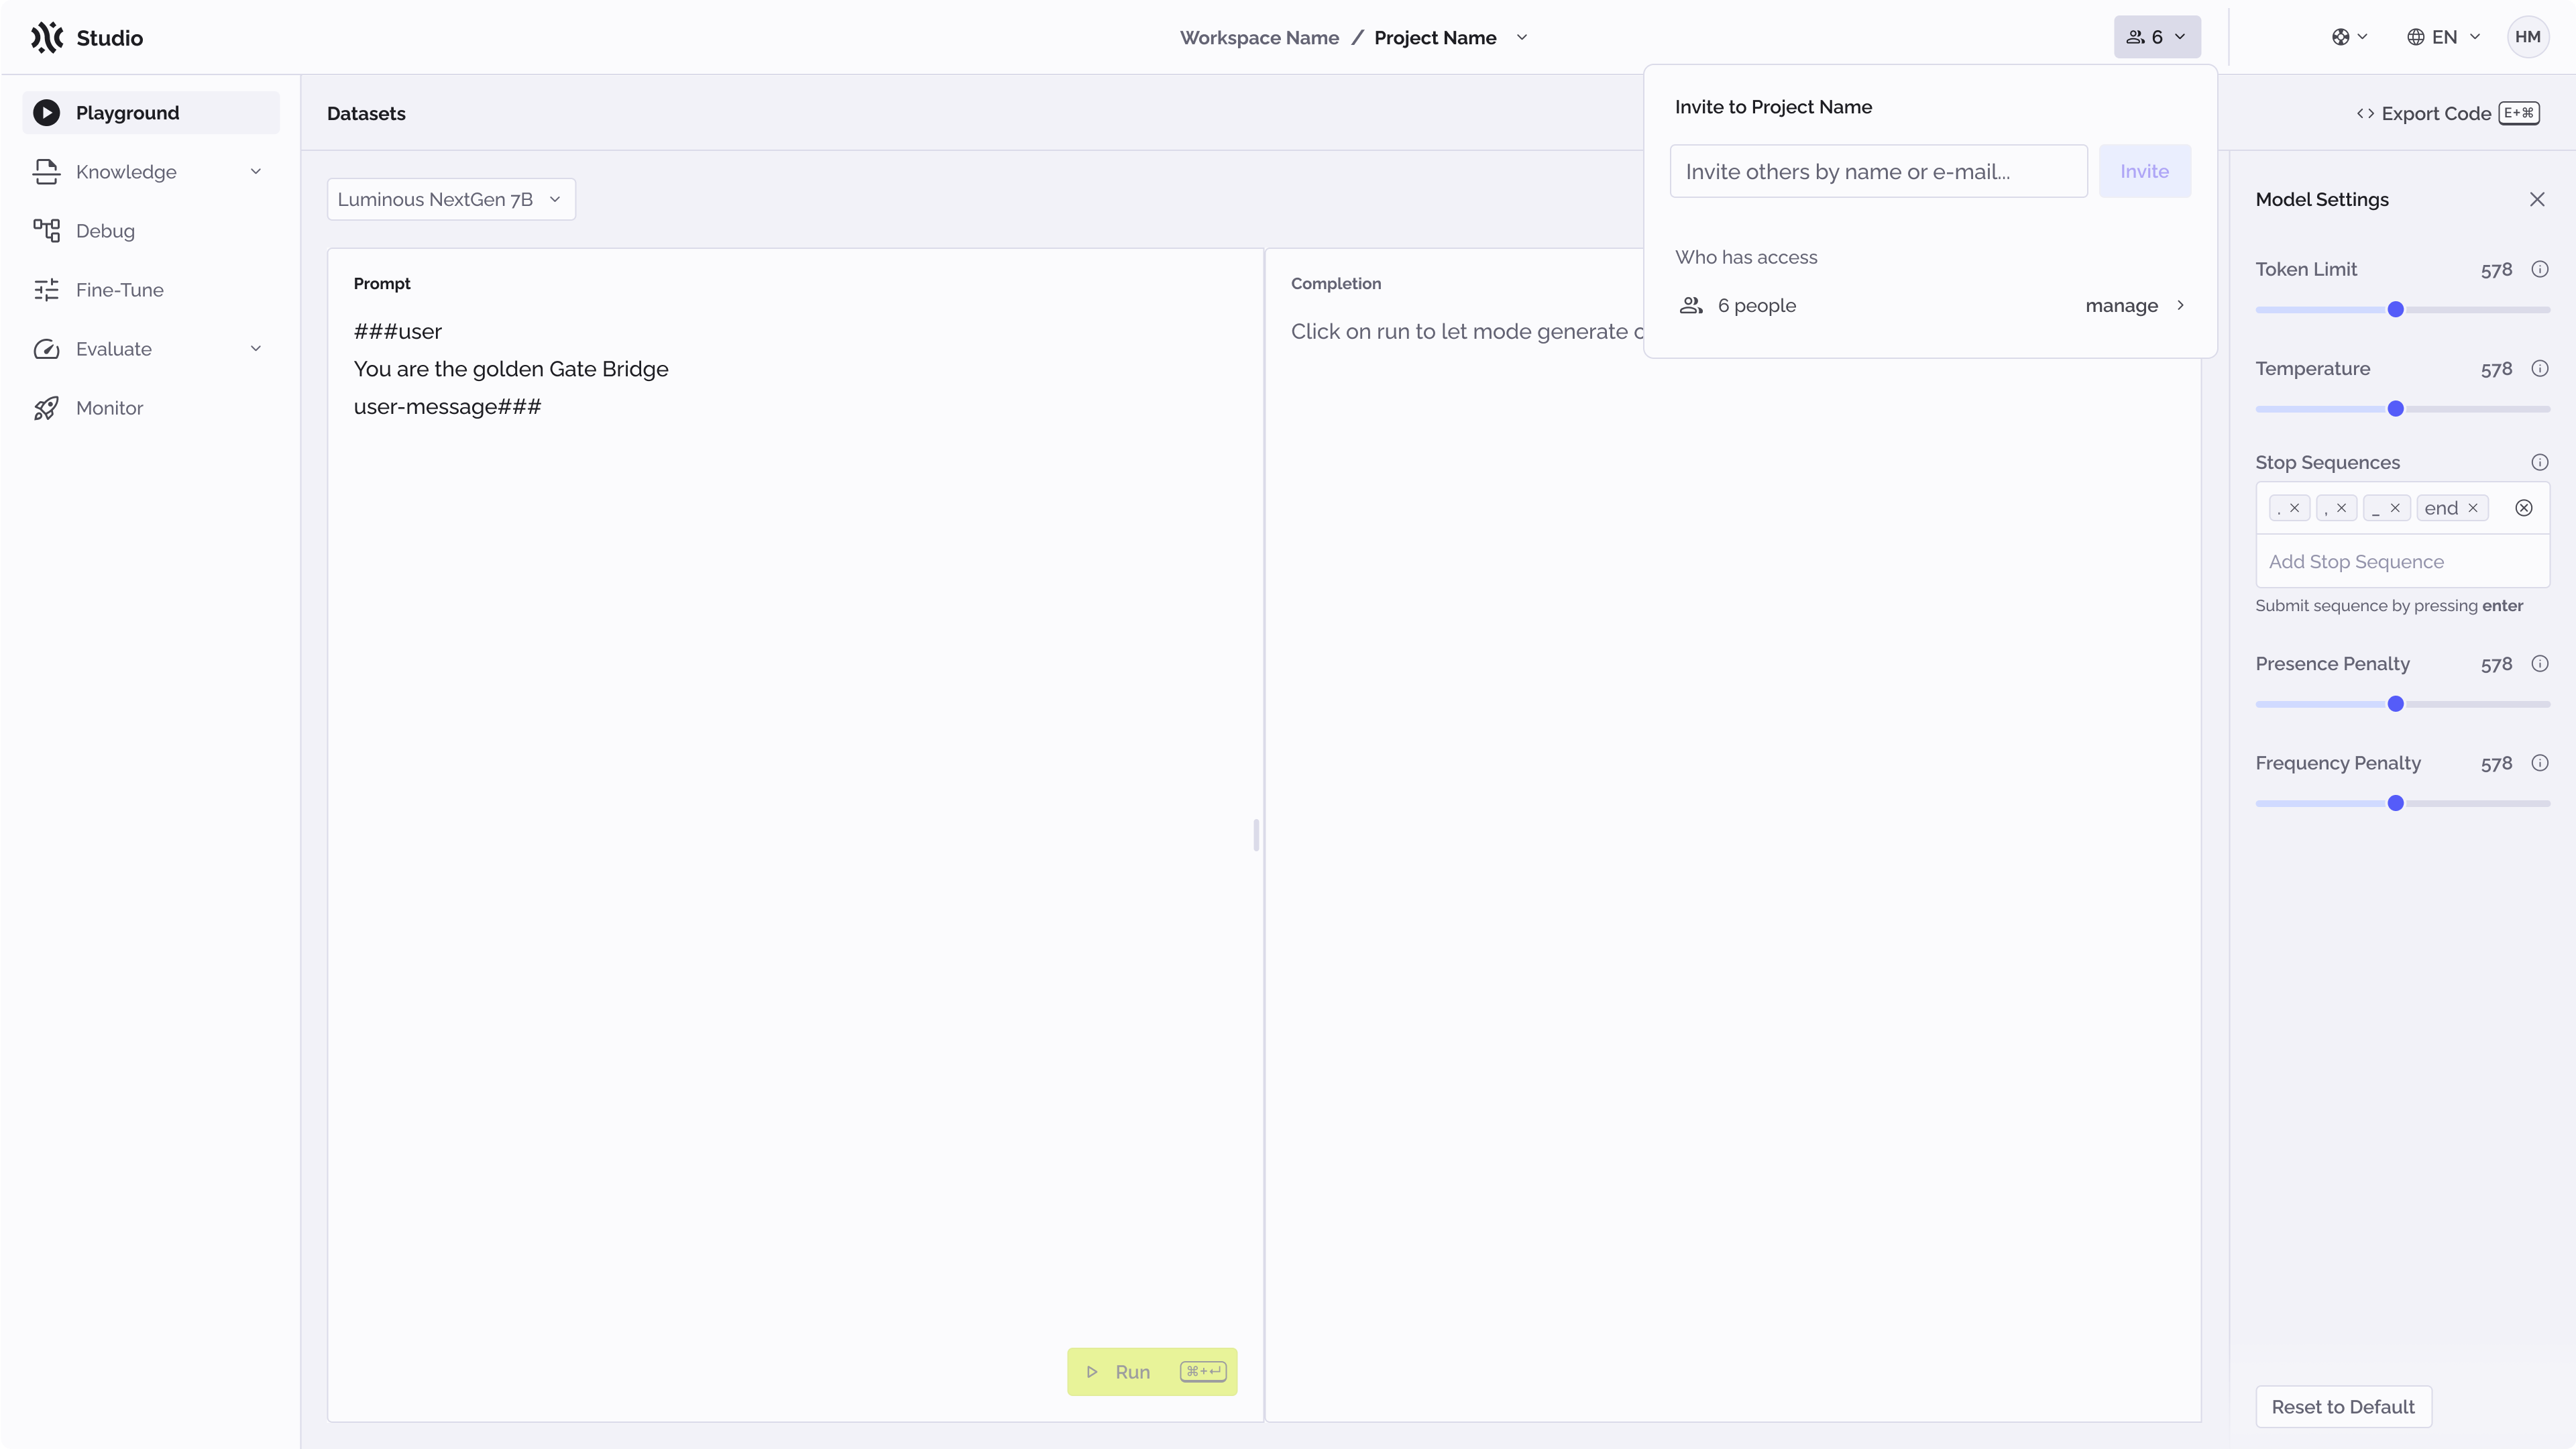
Once the list of users is visible, it is possible to change their role or remove them from the project (if you are the owner of the project).